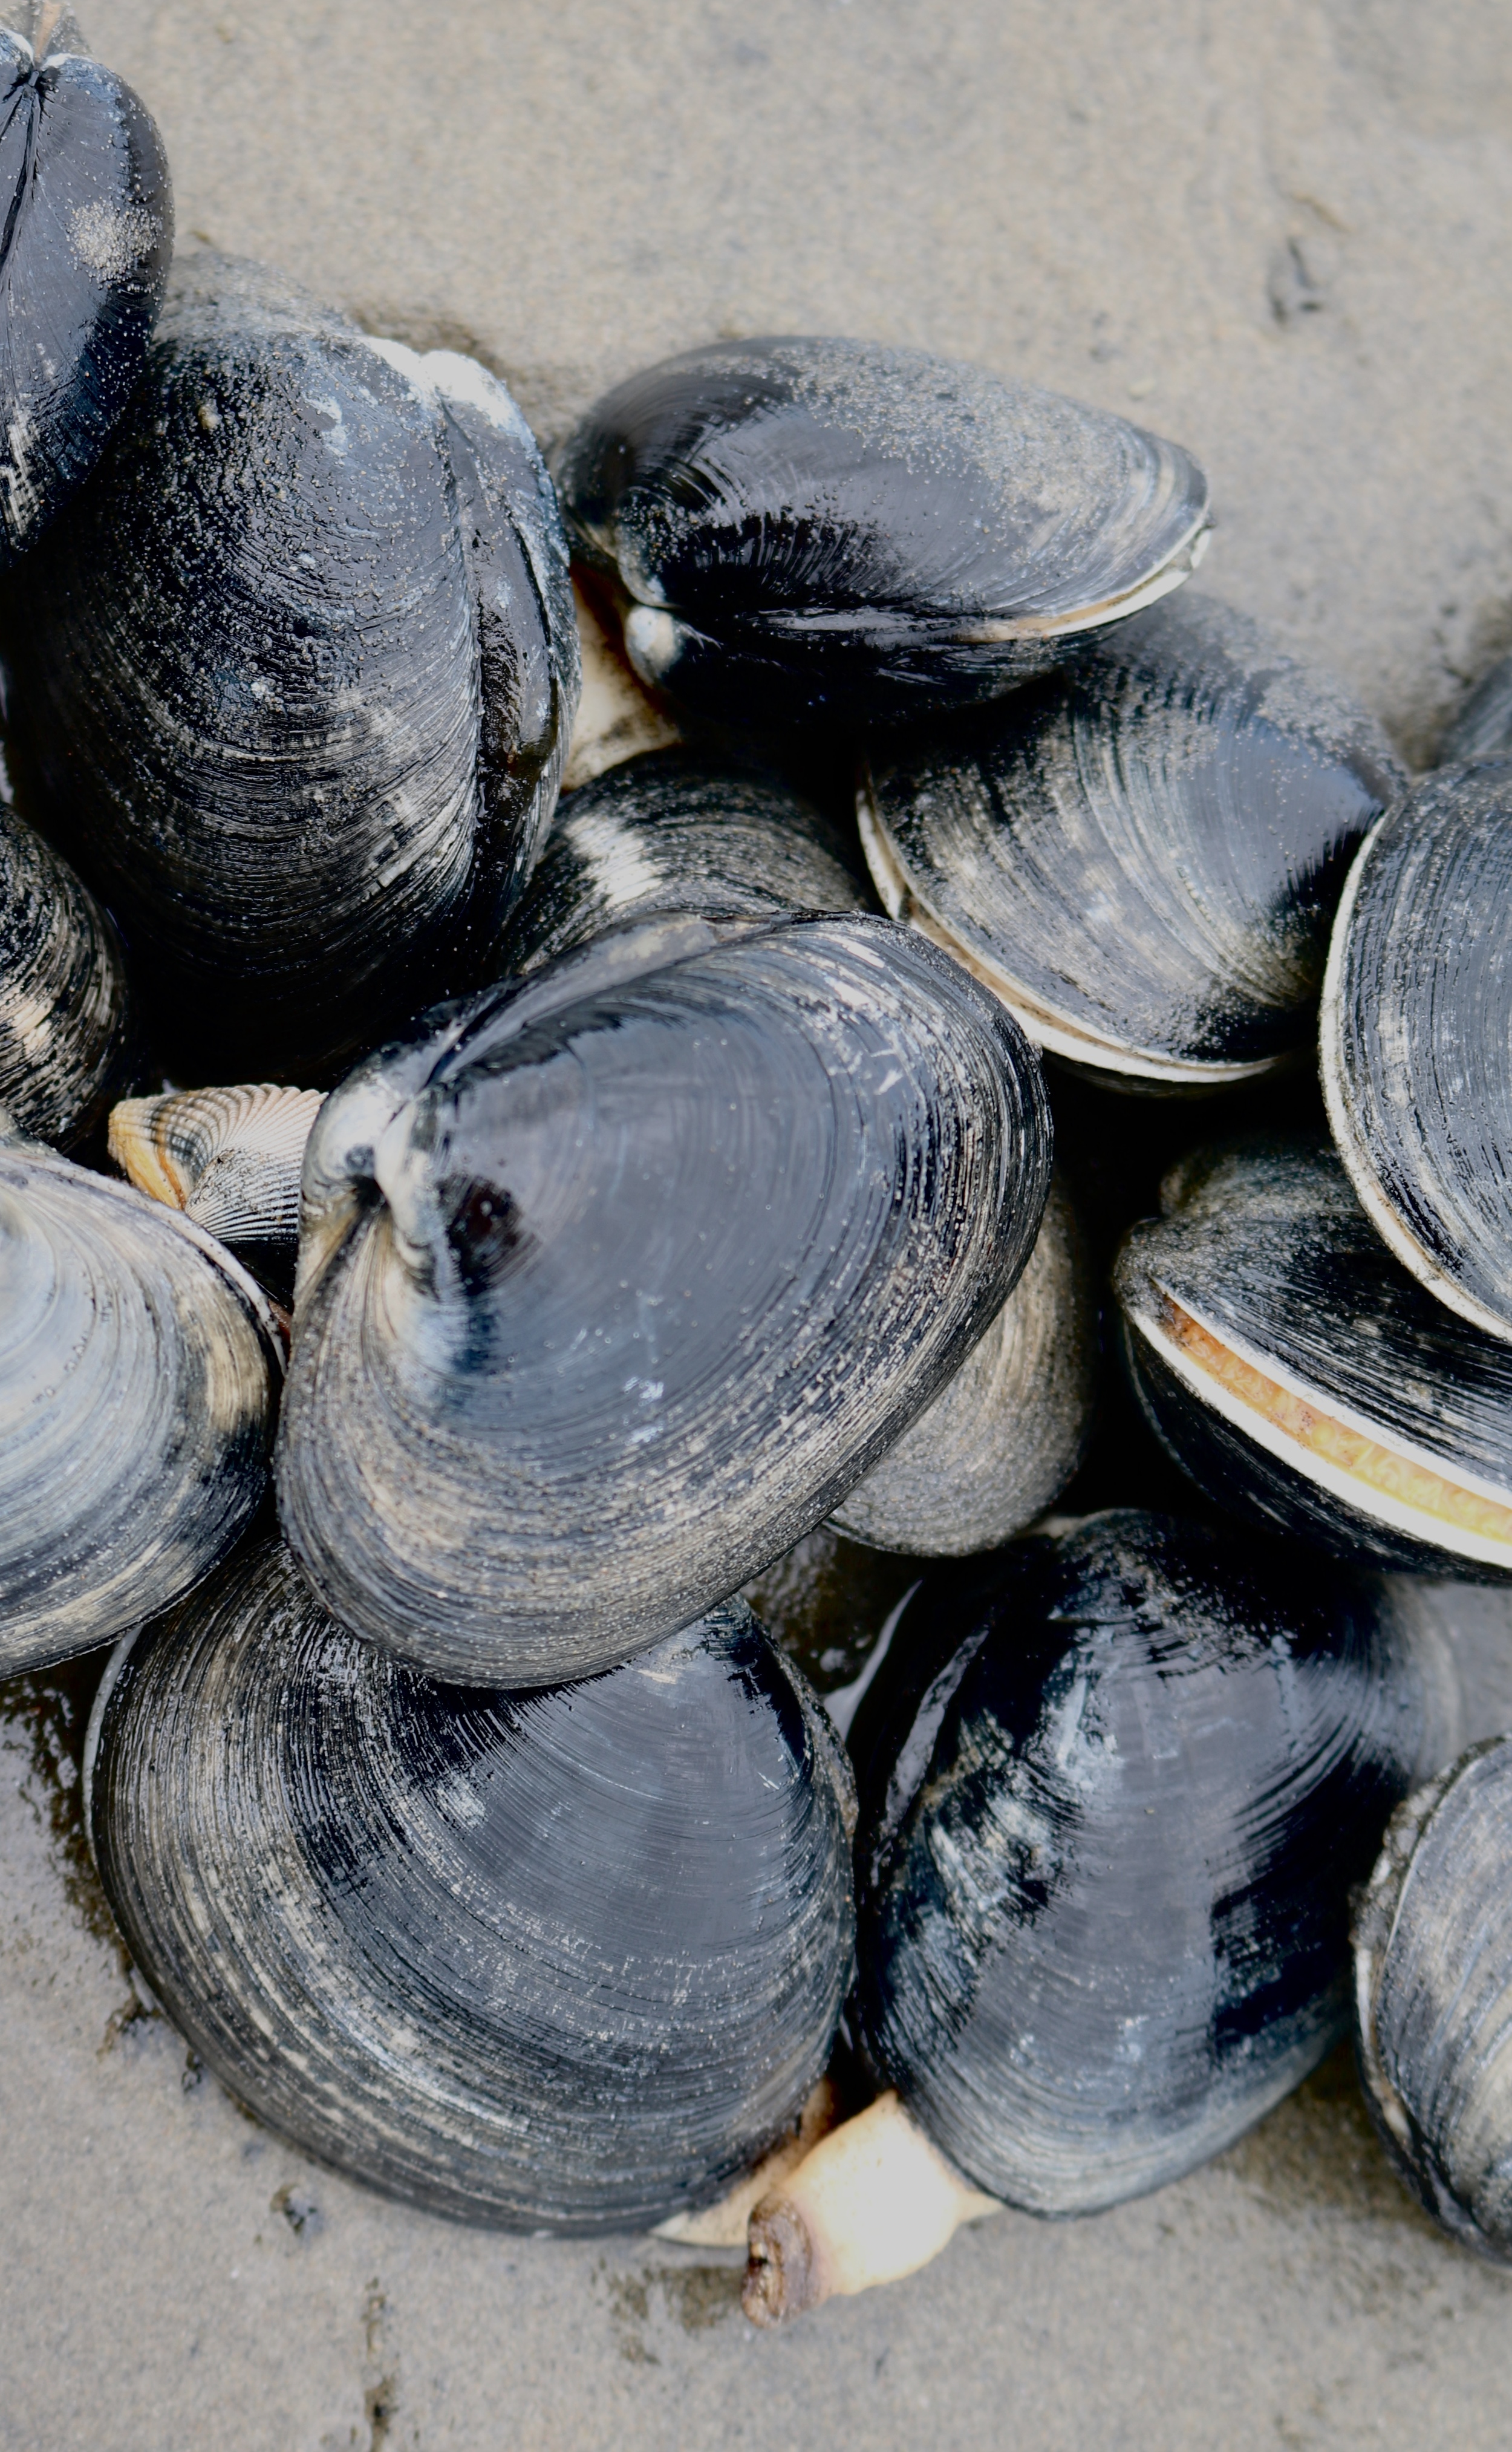
Harvesting Butter Clams Netarts Bay Oregon

I have harvested Manila or steamer clams from the Willapa Bay in Washington for many years. Purchasing a 1000 square feet of tideland in that bay to call my own. I had not harvested butter clams and required some assistance in locating the best tide land and digging techniques to retrieve these larger blueish black shelled clams.
John Callis, operates a foraging company from Portland, Oregon called Wild Food Adventures. He organizes tours into the edible wild landscape, seeking plants, flowers, seaweeds, shellfish, native American foods and more. I joined the Butter and Gaper clam exploration on a mid summer morning during a negative tide, which is a low tide below zero, offering a vast expanse of sand for clam seekers. Ideally, this would be in early to mid morning time, although it is not uncommon to find clammers out at night with headlamps and buckets harvesting in the dark.
Netarts Bay is on the north Oregon coast slightly north of Tillamook Head and directly below the Three Arch Rocks wild life refuge. The tideland is a complex web of channels, inlets, roughs and sand bars. A vast array of shellfish including cockles, littlenecks, purple varnish and softshell clams are hidden under the sand. Each type of clam has preferences for tidal environments. Gapers preferring to be near the deeper channel, cockles on the outer flats, usually harvested with a steel rake and butter clams closer to shore. A clammer chooses a preferred harvest location before the tide begins to rise and attempts to reach their limit before sea water comes rushing in.
First, the clams bubble holes are located. Quarter size air bubbles pushing up to the surface, sometimes four to five in one small area. Using a medium sized flat square head shovel or a clam gun. A steel cylinder, about 8 inches in diameter and two feet long, the clam gun is swiveled into the sand until the handle is almost touching ground. Then the gun is pulled up with the captured sand, sending the clammer to their knees to use their hands to continue the deep dig. Some clammers insist using the clam gun is the best method. I personally enjoy using the old fashioned shovel. A deep trench is dug before knelling to the ground and cupping wet sand out while searching for the edge of a clam shell, before the underground sea water caves the hole in. Once the clam is located it requires a firm hand grip, not easy to achieve, and is pulled to the surface. With butter clams, it is possible more then one lies in the location of the dig. However, if the ground water begins to surge into the dug hole, time is limited to continue the search. The harvested clams are kept in sea water while clamming. The clams will continue to circulate sand out through the neck when in the water, making the cleaning process easier. The clams are then transferred to a iced cooler for transport home.
Cleaning the clam requires a butter knife or oyster shucker. Place the clam in towel on a flat surface and carefully insert the knife between the hard shells in the lipped opening, touching as much surface area as you can buy turning the knife side ways. Begin to rock the knife up and down, leveraging into the clam slowing, attempting to get to the hinged side. Eventually the clam will pop open. Using the knife, scrap the clam off the shell, releasing it from the muscle foot. The intestinal track should be rinsed clean under running water. Depending on the final cooking process to be used, the remaining parts of the clam can be deep fried, poached for 1 hour in a flavored poaching liquid and served cold as a salad (see recipes) or used to make a butter clam chowder.
My favorite way to eat the butter or razor clam, is to cut the cleaned clam pieces into strips for frying. Soak the strips in buttermilk for a couple hours or even overnight. The protein enzymes in the buttermilk tenderize the clam and the liquid allows for an easy breading process. The breading is a three part blend of white rice flour, medium coarse cornmeal and ground polenta. Seasoning the blend with salt, cayenne pepper and maybe a touch of smoked paprika. In small batches, add the drained clam pieces to the breading and coat heavily. Set a side.
Heat a vegetable or safflower oil to 350*F preferably in a heavy cast iron skillet. The oil amount should come up one and half to two inches, enough so the clams can float in the oil while being carefully stirred. Fry the clams in small batches, turning them with a slotted spoon or other perforated utensil. Remove to a paper towel to drain for a moment. Serve with your favorite dipping or hot sauce.